In this article
- How to plan a studio before buying furniture
- 1. Define the sleeping area with a rug
- 2. Try open shelving as a visual divider
- 3. Let furniture placement establish zones
- 4. Choose a compact dining arrangement
- 5. Use curtains for a flexible divide
- 6. Give each activity its own light
- 7. Choose furniture that serves more than one role
- 8. Make a work area that can shut down
- 9. Build storage upward, then edit what is visible
- 10. Give awkward corners a defined purpose
- 11. Position the bed for comfort and access
- 12. Use concealed storage for everyday clutter
- 13. Repeat a coherent color palette
- 14. Keep the circulation path easy to follow
- 15. Place mirrors where they improve the view
- Common studio layout mistakes
- How to keep a studio cohesive
A studio apartment asks one room to handle sleeping, relaxing, eating and sometimes working. The solution is rarely to squeeze a miniature version of every room into it. Instead, give each activity a clear place and let the boundaries stay flexible. A rug can frame seating, a shelf can suggest privacy, and a small dining table can double as a work surface. The right arrangement depends on the position of windows, doors and fixed services, as well as your daily routine. These studio apartment layout ideas offer ways to create recognizable zones while keeping the space comfortable to move through.
How to plan a studio before buying furniture
Sketch the room and mark doors, windows, outlets, radiators, kitchen units and any awkward corners. Record the dimensions of existing furniture and mark its footprint with tape. Then trace the routes you use daily: from entrance to kitchen, bed to bathroom, and seating to window. Decide which functions matter most. Someone working from home may need a defined desk, while another person may prefer a generous dining surface. Test the placement of the largest pieces first. Door swings, ventilation, access to windows and any local building requirements must remain workable; no single layout solves every studio.
1. Define the sleeping area with a rug
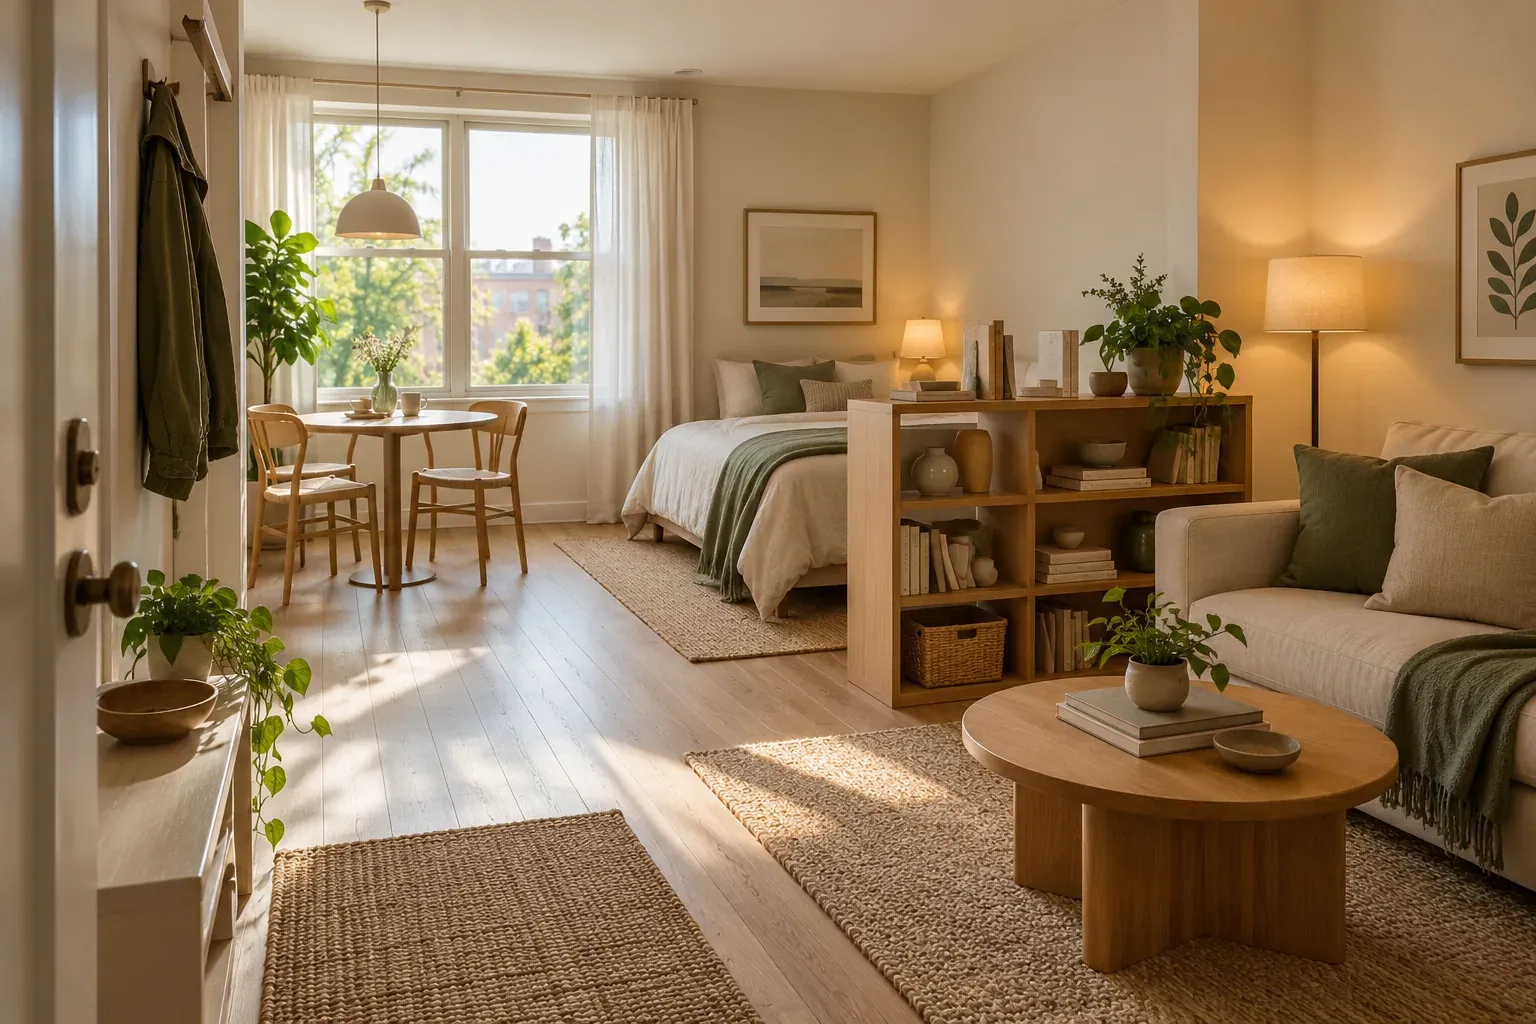
A rug partly under the bed can give the sleeping area a visual boundary without a physical divider. Position it so you step onto a soft surface where it is useful, and choose a size that relates to the bed rather than floating as a tiny mat nearby. Repeating one rug color in the bedding can make this zone feel intentional.
Rugs are most helpful where the bed sits in an open part of the room. If the sleeping area is already in an alcove, it may need no extra definition. Use a suitable rug pad where necessary and keep edges out of main walking routes.
2. Try open shelving as a visual divider
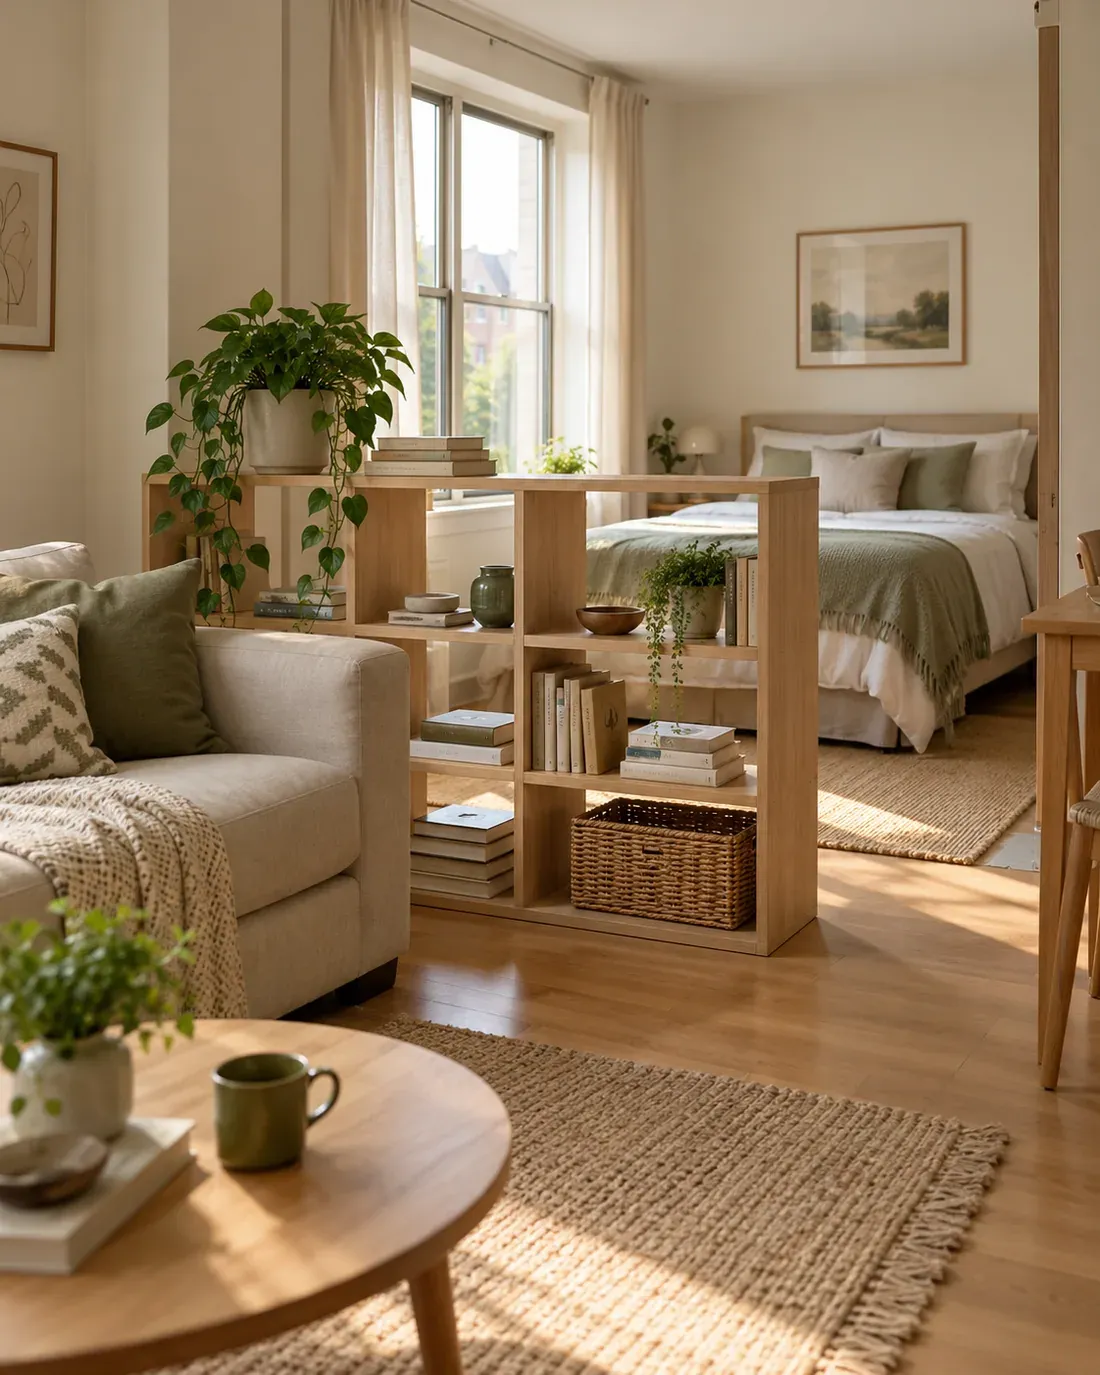
An open shelf between the bed and sofa can provide partial privacy while allowing daylight to travel through the room. Choose a height and depth that fit the space, then leave some compartments open so the divider does not become a solid wall of objects. Baskets on lower shelves can hide small essentials without making the top look heavy.
Check how the shelf is stabilized. Tall or tip-prone units need secure anchoring as directed by the maker, and a divider must not block an exit or window access. This idea works best when there is room to move comfortably on both sides.
3. Let furniture placement establish zones
The back of a sofa can mark the edge of a living area; a bed positioned along a wall can leave a broader central route. Try arranging the largest pieces so each zone has an obvious entry and usable surface. You may find that rotating the sofa solves more than buying a screen.
Do not force all furniture against the perimeter if it creates an empty center and cramped corners. Equally, a sofa floating in the room needs enough space behind it to walk through. Test the arrangement with tape or movable pieces before committing to heavy furniture.
4. Choose a compact dining arrangement
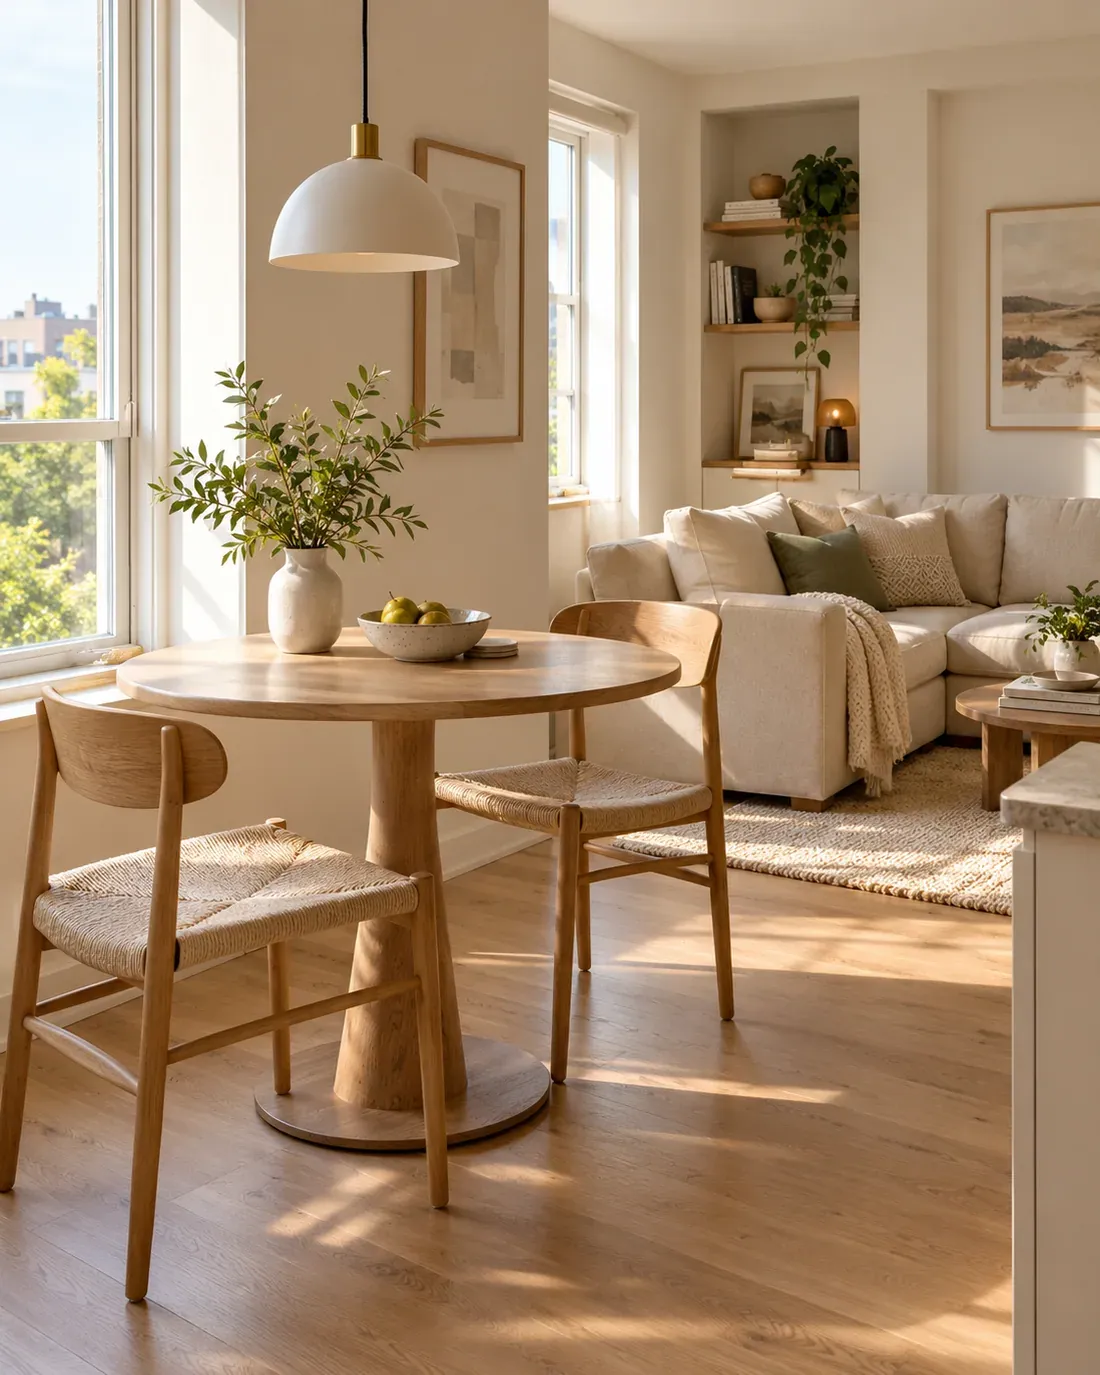
A small round table can be easy to move around and avoids sharp corners in a tight route. A wall-side drop-leaf table may suit a studio where dining is occasional; a sturdy table with enough depth can also host a laptop or hobby. Think about the space chairs occupy when someone is seated, not only when they are tucked in.
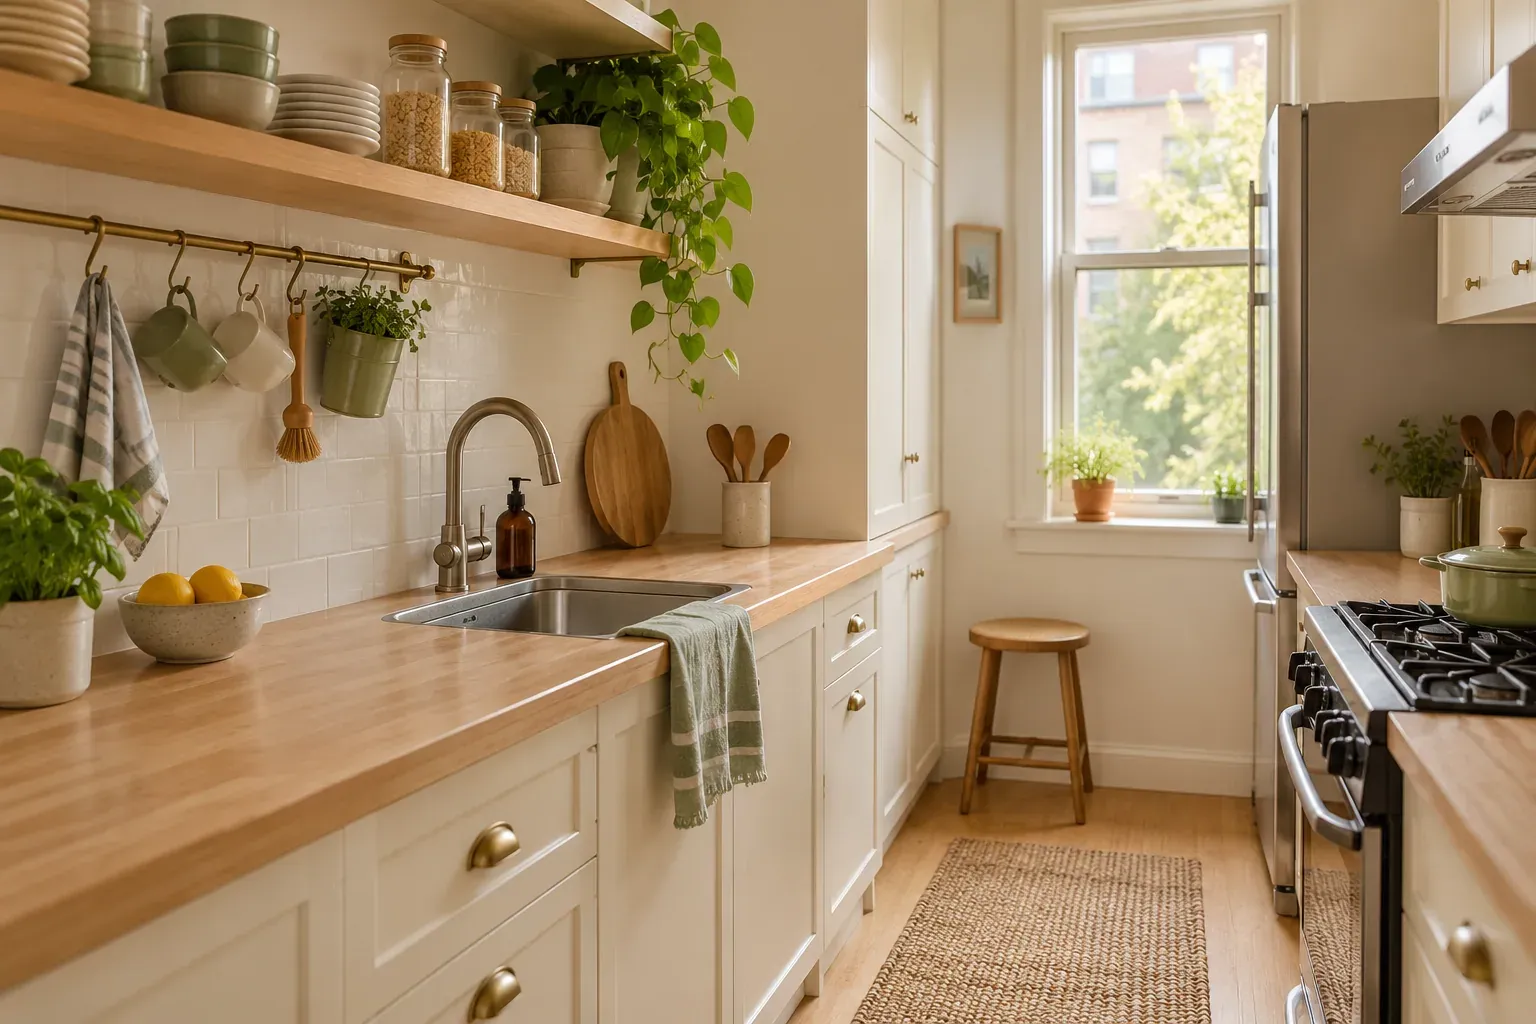
Place the table near the kitchen if that makes meals easier, but keep cabinet and refrigerator doors usable. If you regularly host guests, folding chairs stored elsewhere may be more useful than four permanent seats. Choose the arrangement for your real habits rather than an imagined dinner party. A clear prep counter helps this compact dining zone work; our small kitchen organization ideas cover that side of the layout.
5. Use curtains for a flexible divide
A curtain can soften a sleeping nook and open fully during the day. It works best when there is a clear place to gather the fabric without covering a window, heater or storage. Ceiling-mounted tracks may look discreet, but require suitable fixings and permission where relevant. A tension solution needs to be appropriate for its span and weight.
Fabric will not provide acoustic privacy, and a fully closed curtain can make a small area feel stuffy. Choose a breathable, washable material and maintain ventilation. Keep the route to exits clear whether the curtain is open or closed.
6. Give each activity its own light
Lighting can distinguish zones after dark even when they share a room. A reading lamp beside the sofa, a focused desk light and warm bedside light let you use one part of the studio without flooding the entire space. Match each fixture to the task and look for cords that can be managed safely along a wall or behind furniture.
You do not need a collection of statement lamps. A few well-placed lights at different heights give the room depth. If floor space is scarce, a plug-in wall light may work where installation is allowed and the cord can stay out of the path.
7. Choose furniture that serves more than one role
A storage ottoman can hold blankets and act as occasional seating; a table can support meals and work; a low dresser can divide a sleeping area and provide a display surface. Multipurpose pieces help only if both functions are convenient. A bed with drawers, for example, needs enough clearance to open them fully.
Prioritize everyday comfort over a long list of features. A sofa that is awkward to sit on or a desk too small to work at will not earn its footprint. Measure the piece in use, including drawers, leaves and pull-out components.
8. Make a work area that can shut down
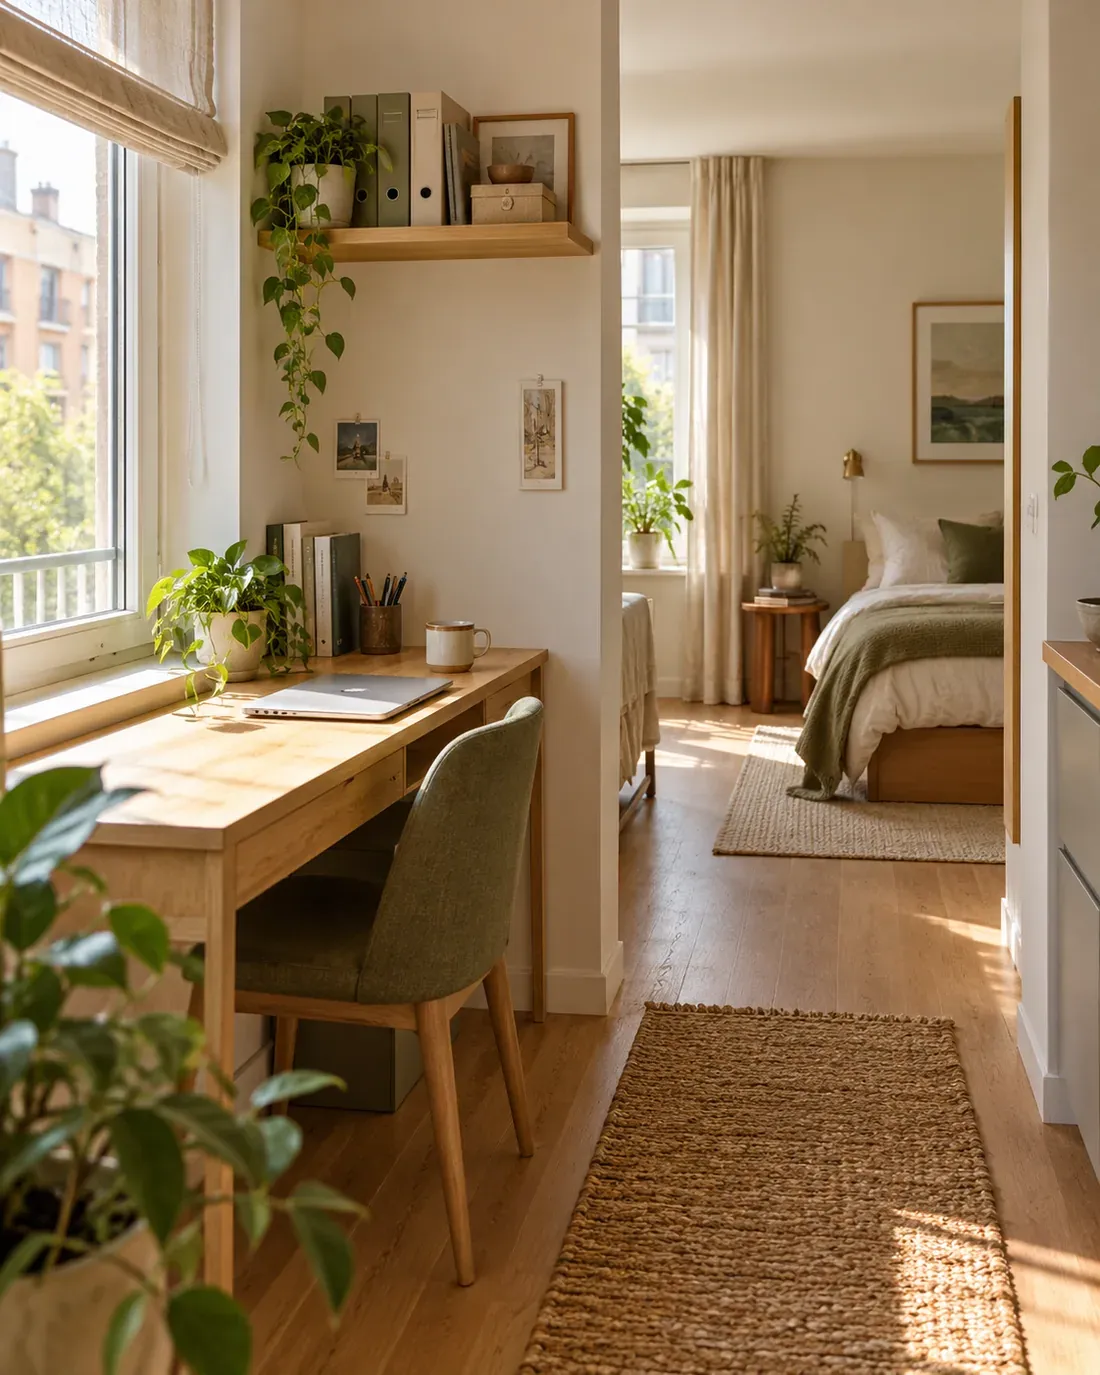
If you work from home, choose a specific surface and a place for supplies to go when the day ends. A narrow desk against a wall may be better than working from the bed. Where there is no room for a dedicated desk, use the dining table with a small portable caddy so work equipment can be packed away after hours.
Position the screen to reduce glare and ensure a suitable outlet is nearby. Leave enough space for a comfortable chair and for people to pass behind it. A work zone that blocks the kitchen whenever the chair is pulled out is not a sustainable arrangement.
9. Build storage upward, then edit what is visible
Tall, shallow storage can hold books, supplies and folded clothes without consuming a broad stretch of floor. Put frequently used items at reachable height and lighter, occasional items above. Combine closed sections for visual clutter with a few open shelves for things you enjoy seeing.
Consider anchoring requirements, wall structure and any lease limitations. Do not pile storage in front of ventilation or windows. In a studio, every storage surface is visible from several angles, so a clear category system matters more than adding as many shelves as possible.
10. Give awkward corners a defined purpose
An odd corner might hold a reading chair, a compact desk or a narrow laundry station. Pick one job rather than filling the recess with unrelated overflow. Measure the usable area at floor level and higher up; skirting, radiators and window sills may reduce the space more than a simple floor plan suggests.
If the corner is hard to reach, assign it to an occasional task rather than daily essentials. A small lamp can help it feel intentional. A corner that is part of the main route should remain clear, even if a tiny cabinet would technically fit there.
11. Position the bed for comfort and access
The bed is often the largest object in a studio, so its placement sets the rest of the plan. Along a wall or in an alcove, it may leave a clearer living area. Some layouts benefit from turning it so a shelf or curtain can separate it from the entrance. Make sure you can change linens and get in and out comfortably.
Keep windows, heating, ventilation and exits accessible. A bed pushed tightly against every boundary can make daily tasks difficult even if it looks compact in a sketch. If the bed is visible from the entrance, a tidy bedding palette may provide enough visual calm without a divider.
12. Use concealed storage for everyday clutter
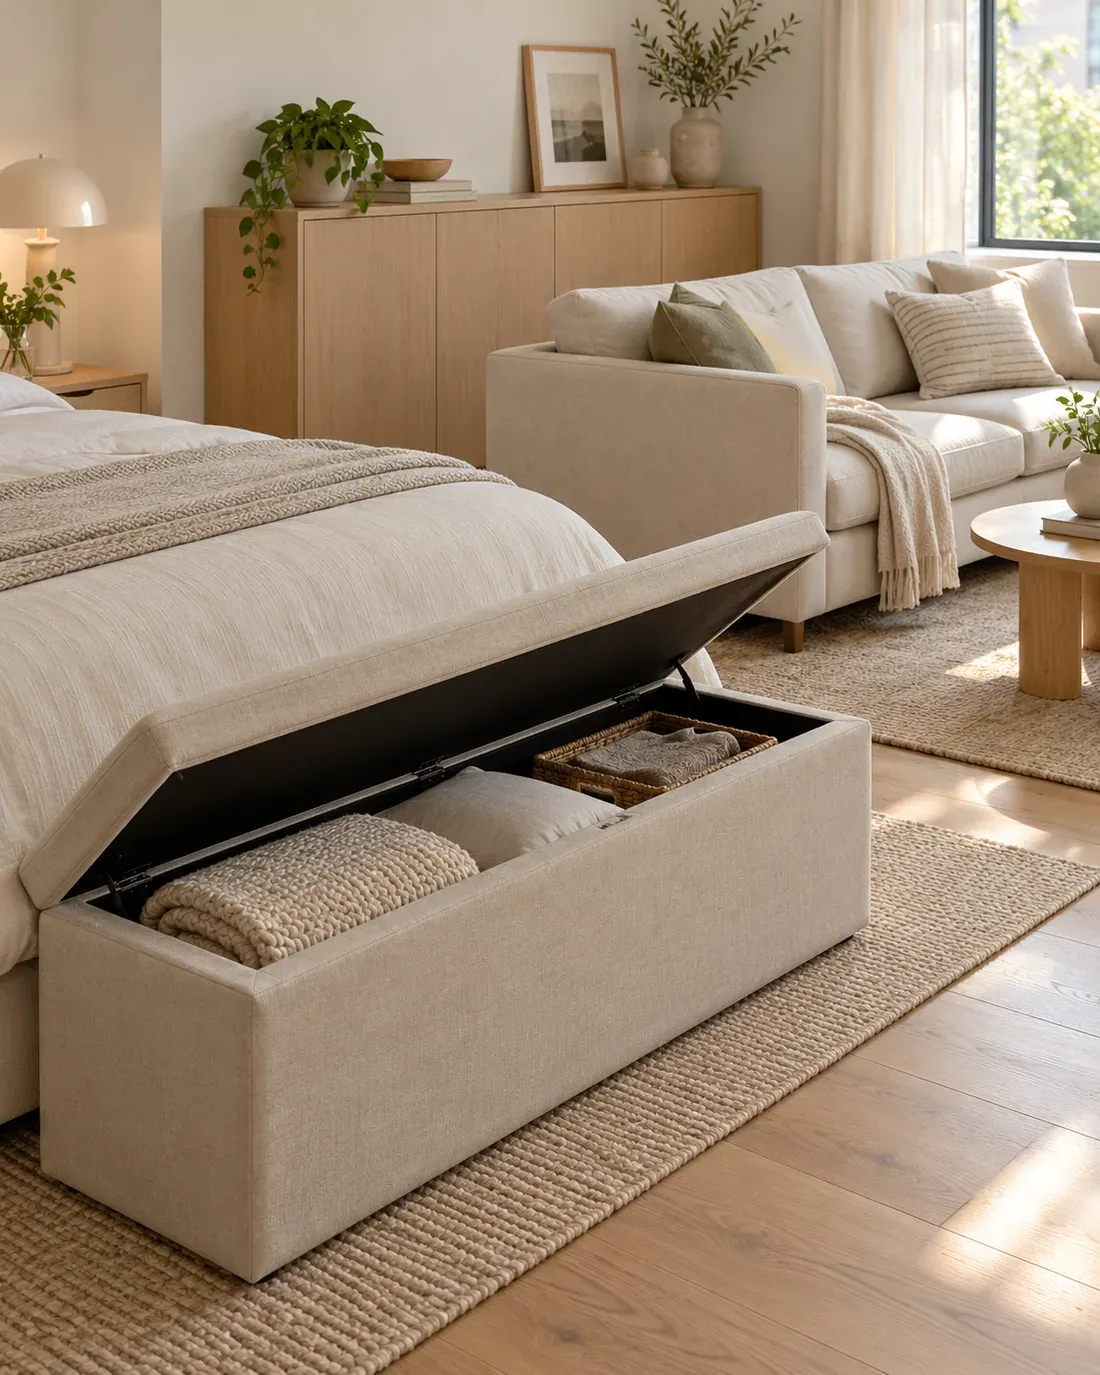
Closed drawers, a lidded bench or a cabinet can hide the items that are useful but visually busy. Assign them by category so they do not become places where objects disappear. A storage bench near the bed, for instance, can hold spare linens if its lid or drawers open easily and it does not pinch the route.
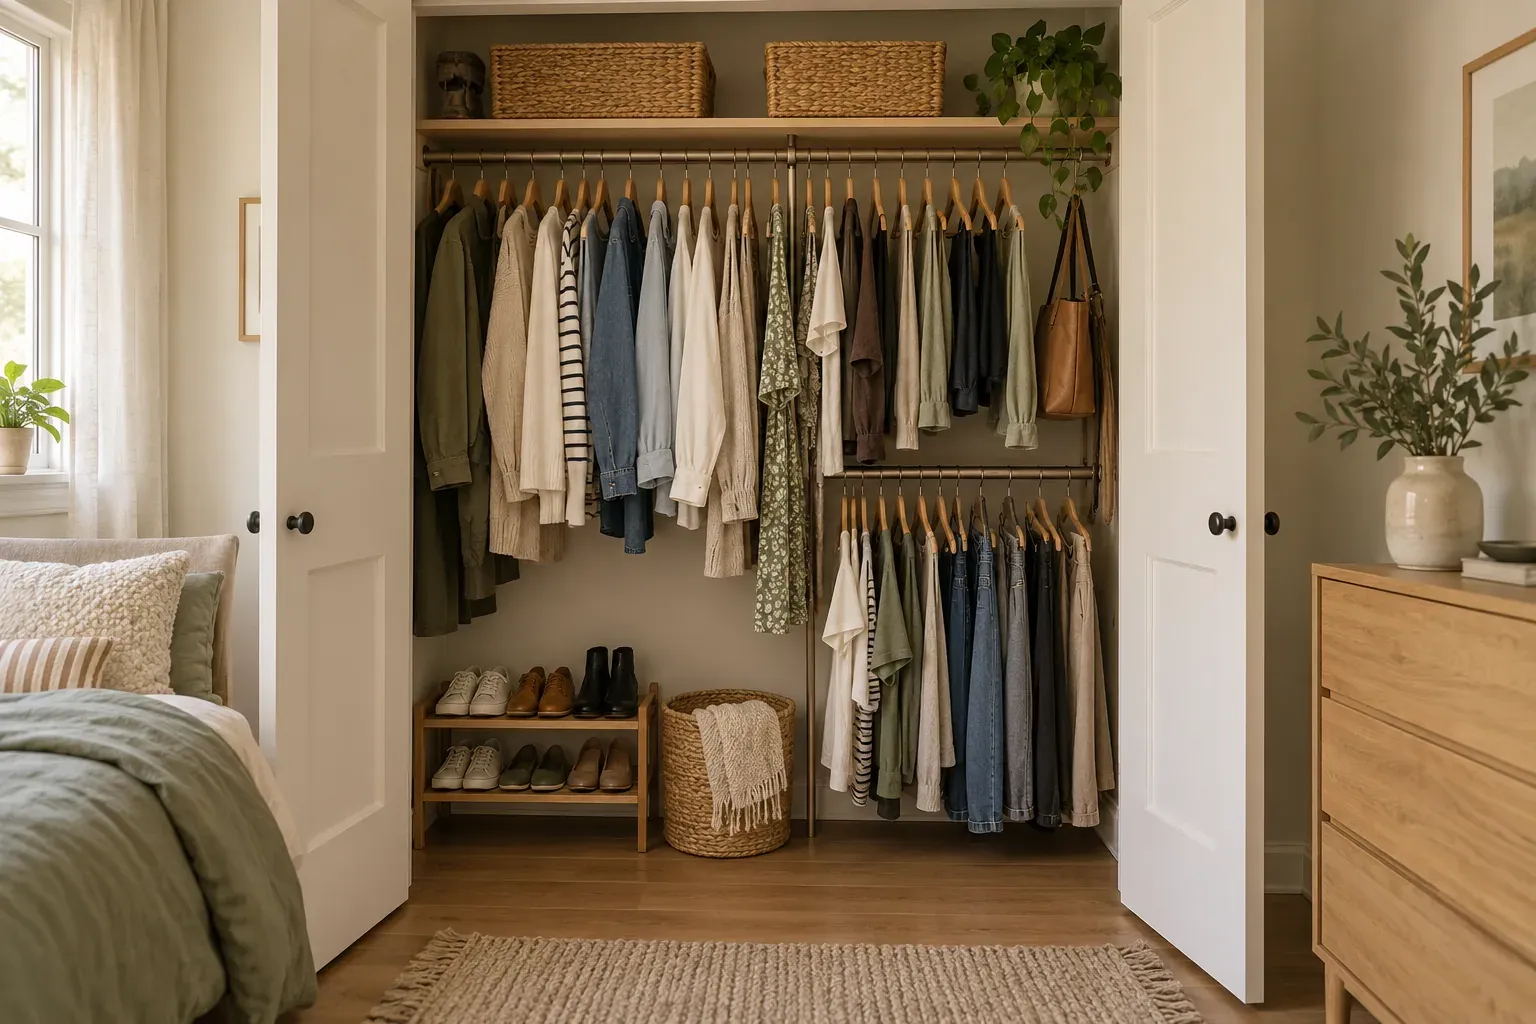
Do not buy storage simply to keep more belongings. First decide which items need a home, then select a piece with suitable capacity and access. For a compact wardrobe setup, our small closet organization ideas offer more targeted ways to use hanging and shelf space.
13. Repeat a coherent color palette
Separate zones need not look like unrelated rooms. Repeat a few colors or materials across bedding, seating, rugs and window treatments so the studio feels connected. A warm neutral base with one accent color can keep the view calm while still allowing personality in art and textiles.
This is not a rule to make everything match. Vary texture and scale so the space has depth, and let a few meaningful objects stand out. When storage, furniture and decor share some visual language, the boundaries between zones can stay subtle rather than relying on bulky screens.
14. Keep the circulation path easy to follow
Walk through the apartment with chairs pulled out, cabinet doors open and a bag in hand. This reveals bottlenecks that a tidy photograph hides. Keep the route from entry to kitchen, bathroom and bed straightforward. Avoid trailing cords, rugs that bunch up and furniture corners that you need to dodge.
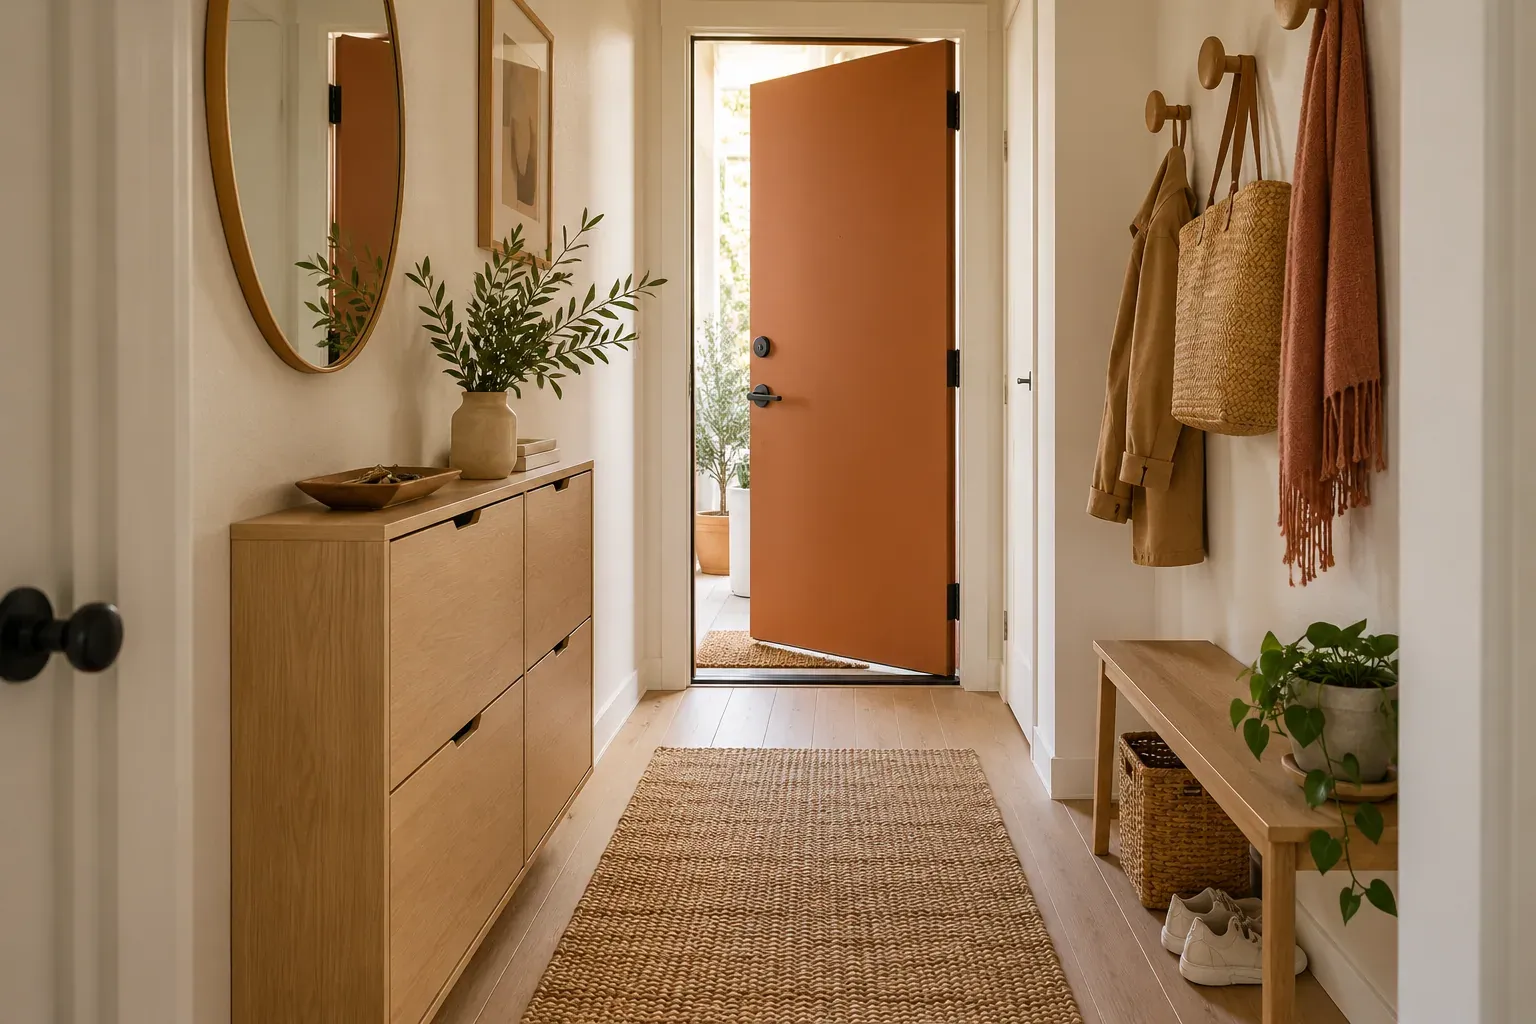
Clearance depends on the specific home and any applicable building or accessibility requirements. If a proposed divider makes the room difficult to cross or blocks essential access, reposition it or use a visual cue such as lighting instead. Our narrow entryway ideas expand on keeping a compact entrance usable.
15. Place mirrors where they improve the view
A mirror can reflect daylight or extend a sightline across the studio. Position it to reflect a window, artwork or another calm part of the room rather than a pile of storage. A wall-mounted mirror uses no floor area, but needs installation suited to its weight. Smaller mirrors can work above a dresser where the surface is already part of a zone.
Avoid using mirrors as a substitute for better layout. If a piece of furniture blocks the route, its reflection will not fix the problem. A mirror is most effective after the big furniture has been placed and the room’s main sightlines are clear.
Common studio layout mistakes
Trying to give every function its own large piece of furniture can crowd a studio quickly. Start with what you use daily, then let a few surfaces do double duty where that genuinely works. Check furniture in its open position: a drop-leaf table, desk chair or bed drawer needs space beyond its closed footprint. Another common mistake is using a solid divider that steals the only daylight source from one zone.
Also avoid storing everything in sight. Even attractive open shelving becomes visually loud when it is packed. Use closed storage for supplies and leave a few quiet areas of wall and floor. A layout should help you live comfortably, not require constant rearranging just to cook or make the bed.
How to keep a studio cohesive
Choose an anchor for each main activity, such as a bed, sofa and dining surface, then connect them with repeated colors and a clear walking route. Let lighting and rugs add definition where walls would be too much. Review the arrangement after living with it for a week: if a chair stays in the way or objects repeatedly land on the wrong surface, adjust the zones.
The goal is not to disguise the fact that the room is a studio. It is to make its different uses feel legible and comfortable. A few measured placements and accessible storage often do more than a collection of space-saving gadgets.
Looking for more ideas? Browse our small space living stories.
Save to Pinterest